 ESPectre
Flash and set up your device
Install ESPectre from the browser, connect the board to Wi-Fi, and check that it detects movement.
Sections
What you need
- A supported Espressif board from the hardware guide.
- A USB cable that carries data, not only power. Charge-only cables are the most common setup problem, so try another cable first if in doubt.
- Chrome 151 or later on a desktop computer. Edge can flash the board, but Device settings and Live motion may not work in it. Firefox and Safari cannot flash from the browser.
Step 1 — Choose your firmware
Pick the row that matches how you want to use the sensor. You can reflash later.
| If you... | Install | You get |
|---|---|---|
| Want a standalone sensor, the browser tools, MQTT, or Home Assistant through an MQTT broker | Native | USB Wi-Fi setup, browser monitoring without a broker, optional MQTT, Home Assistant discovery, and browser games |
| Want the fullest Home Assistant integration and YAML configuration | ESPHome | A device that Home Assistant finds on its own, with motion, movement level, a threshold slider, and a recalibrate button |
| Use a controller that supports Matter occupancy sensors | Matter | A standard occupancy sensor. Controller testing is still limited: check the current status |
| Want raw CSI data for research | Native, ESPHome, or Matter | Raw CSI capture from the browser tool or with ./espectre collect |
Step 2 — Install ESPectre
Recommended: install from the browser
Plug the board in
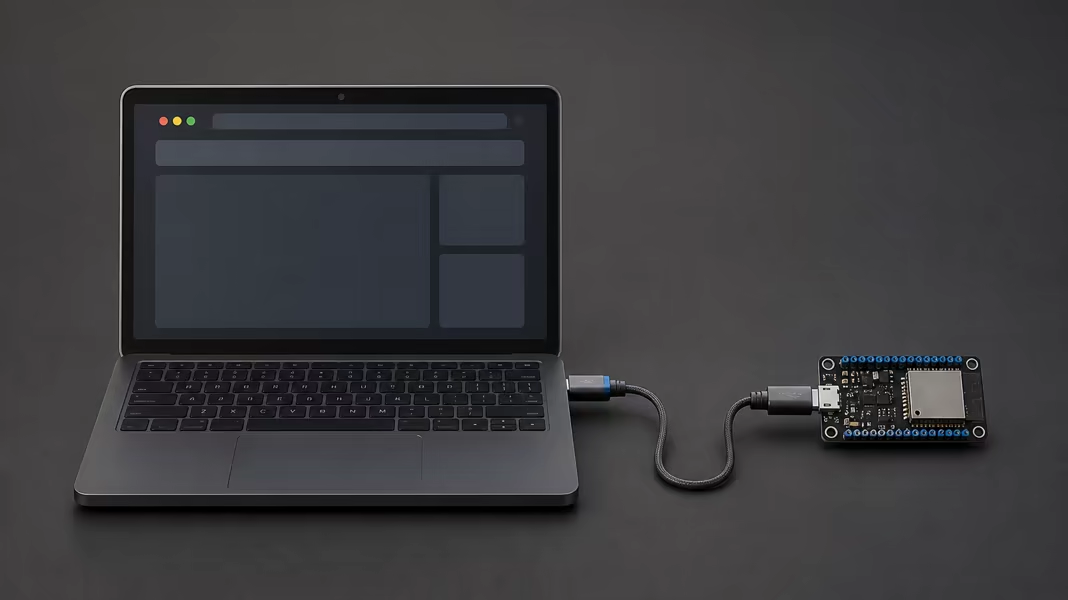
Connect the ESP32 to your computer over USB. Close anything else that may be using the serial port, such as another installer tab, the Arduino IDE, or a serial monitor.
Open the installer
Go to Install ESPectre and select Connect USB device.
Pick the port
Choose the port that appears when you plug the board in:
COMxon Windows, or a name withusbserial,usbmodem, orttyACMon macOS and Linux. The installer detects the chip and any ESPectre firmware already on it.Choose and install
If the installer recognizes the firmware, choose Update or Reinstall to keep the device's settings. To switch to another firmware type, or to replace firmware it does not recognize, you must confirm a full erase. Keep the page open until the board restarts.
For integrators: build from source with the CLI
Build, flash, and monitor
You need Python 3.14. Native and Matter build with ESP-IDF 5.5.3 or later when it is installed, or with the project's Docker image otherwise. The project's firmware and CI use 5.5.6. Earlier checked builds include 5.5.3 through 5.5.5, 6.0.3, and 6.1. Hardware checks on ESP-IDF 6.x are still pending. Flashing still needs local serial tools. ESPHome installs its own toolchain.
Prepare the repository once:
git clone https://github.com/francescopace/espectre.git
cd espectre
python3 -m venv .venv
source .venv/bin/activate
python -m pip install -r requirements.txt
The examples target ESP32-C3. For another board, replace c3 with c5, c6, s2, s3, or esp32. ESP32-S2 works with ESPHome, Native, and Micro-ESPectre, but not Matter.
--clean is only needed after a configuration or toolchain change. Flashing restarts the board, so there is no separate run step. You don't need to name the port: the CLI uses the only connected device, or shows a menu if there are several.
--reset restarts the board once so the monitor shows the full startup log:
./espectre native build --chip c3 --clean
./espectre native flash --chip c3
./espectre monitor --chip c3 --frontend native --reset
The CLI uses the project's YAML for the chip. Use the same chip in all three commands:
./espectre esphome build --chip c3 --clean
./espectre esphome flash --chip c3
./espectre esphome monitor --chip c3
To use your own YAML, add --config path/to/espectre.yaml to all three commands. The CLI keeps your device settings and uses the ESPectre component from your checkout:
./espectre esphome build --chip c3 --config path/to/espectre.yaml --clean
./espectre esphome flash --chip c3 --config path/to/espectre.yaml
./espectre esphome monitor --chip c3 --config path/to/espectre.yaml
On first boot, the board prints its pairing code. --reset restarts it once so the monitor shows the full startup log again:
./espectre matter build --chip c3 --clean
./espectre matter flash --chip c3
./espectre monitor --chip c3 --frontend matter --reset
To show the pairing code later, run ./espectre matter qr --chip c3.
Run ./espectre devices to list the ESPectre devices on your network; add --frontend to show only one firmware type. On Windows, use espectre.cmd instead of ./espectre. The CLI reference covers build prerequisites, port selection, --clean-all, and build options.
Step 3 — Connect it to your network
Select the firmware you installed and follow only that path. Once the device is online, Find devices in the browser tools can locate it on your network.
Set up Wi-Fi over USB
After flashing, the installer checks the board. If it has no Wi-Fi settings yet, a Wi-Fi form opens in the page; otherwise the installer finishes directly.
Open Device settings
Go to Device settings. Enter the device IP address if the installer showed one, or use Auto-discovery. There you can rename the device, check its Wi-Fi connection, choose an access point, and set up MQTT.
To change the Wi-Fi network or password, use the installer over USB. Resetting Wi-Fi disconnects the device until you set it up again over USB. To reset Wi-Fi without a browser, hold BOOT for 3 seconds.
Start sensing
Open Live motion and connect to the same device to see detection without a broker. Set up MQTT only if you need Home Assistant or another automation system.
Tune from the MQTT shell
Run the shell on your computer with your broker's address. It picks the device on its own, or shows a menu if several are online. Type help for the command list, then change the motion threshold or start a new calibration:
./espectre mqtt --broker 192.168.1.20
espectre> help
espectre> update_sensing threshold=0.35
espectre> recalibrate
Integrators can also build Wi-Fi and MQTT defaults into a Native image. Keep generated sdkconfig files and credentials out of version control; the Native reference lists the options.
Set up Wi-Fi in the installer
Right after installation, enter your network name and password. Use a 2.4 GHz network. Published ESP32-C5 images can also join 5 GHz, but detection quality on 5 GHz has not been measured yet. If USB setup does not work, connect to the
ESPectre Fallbackhotspot and finish in the browser.Add it in Home Assistant
Within a minute, Home Assistant shows a notification for a new ESPHome device. Accept it to get the motion sensor, movement score, threshold control, recalibrate button, and calibration status. The Home Assistant dashboard guide turns these into a sensing dashboard.
CLI builds contain no Wi-Fi credentials. Set up Wi-Fi over USB or through the fallback hotspot.
Get the QR code
After the board restarts, the installer reads its QR code and manual pairing code over USB. To see them later, reconnect on the Install ESPectre page and select Matter QR code, or run
./espectre matter qr --chip c3. Each device has its own code, and reflashing without a full erase keeps it.Add the device in your app
In a controller that supports Matter occupancy sensors, start adding a device and scan the QR code. Keep the phone near the board: pairing starts over Bluetooth, then the device joins your Wi-Fi.
Choose an access point, if needed
If several access points share your network name, open Device settings after pairing and choose the one ESPectre should use. The choice survives restarts as long as the device stays on the same network. Select Automatic (strongest available) to remove it; this does not affect pairing or Wi-Fi credentials.
Place it in a room
The device appears as an occupancy sensor. Use it in automations like any other motion sensor.
Matter controller compatibility
ESPectre reports motion as a standard Matter occupancy sensor. Our hardware benchmark pairs every build with CHIP Tool, the Matter reference controller, connects to it over Direct HTTP, checks that its access-point choice survives a restart, and measures detection with both profiles. It does not test motion reports or automations in a consumer app.
No end-to-end test has been recorded yet for Google Home, Amazon Alexa, Apple Home, Samsung SmartThings, or Home Assistant. A controller that supports occupancy sensors may still fail to pair ESPectre or to trigger automations. Wider controller testing is planned for v3.1.0; follow it on the roadmap.
For integrators: how browser discovery works
Automatic LAN discovery and browser support
A web page cannot list the services on your network, but it can look up a single .local name. The portal looks up a name that Native, ESPHome, and commissioned Matter devices answer. Micro-ESPectre does not answer it. The device that answers searches the network for the other ESPectre devices, including Micro-ESPectre, and sends back their addresses. Each attempt uses a new random name, so cached answers from earlier attempts never get in the way.
Everything stays on your local network: no app, no browser extension, and no address scanning. Discovery is optional and works over IPv4 only. It needs at least one ESPectre device that can answer, even if you then pick another one. You can always enter a device's IP address instead.
| Browser environment | Status | Discovery requirements |
|---|---|---|
| Chrome 151 or later on macOS | Validated | Tested on real hardware, including several devices and a device going offline. |
| Chrome 151 or later on Windows 10/11 | Validation pending | Windows must resolve .local names through mDNS, the network and firewall must allow multicast UDP port 5353, and Local Network Access must be allowed for the portal. |
| Chrome 151 or later on Linux | Validation pending | The system must resolve .local names through mDNS (for example with systemd-resolved or Avahi), the network and firewall must allow multicast UDP port 5353, and Local Network Access must be allowed. |
| Edge, Firefox, Safari, mobile Chrome, and WSL | Compatibility not guaranteed | Use Chrome 151 or later on a desktop computer, or connect with the device's IP address. |
Step 4 — Let it calibrate, then test
- Published firmware uses Lightweight Detection. After joining Wi-Fi, it calibrates for about ten seconds of clean data: keep the room still, then move normally. A burst in that window extends calibration in five-second steps, up to about thirty seconds. High-Accuracy Detection needs no calibration.
- Wave an arm a few meters from the board. Motion should turn on within about a second and clear shortly after you stop.
Troubleshooting
These cards cover installation. For calibration that never finishes, false or missed motion, or a device you cannot reach, see the troubleshooting guide.
No serial port appears
- Try another USB cable; charge-only cables are a common cause.
- Try another USB port, ideally one directly on the computer.
- Hold BOOT while plugging in, then retry.
Flashing fails midway
- Close other tabs or programs that use the port, and retry.
- Use a rear USB port or a powered hub: unstable power interrupts flashing.
- Use the erase-and-reinstall option to start from a clean board.
The installer says the board is not supported
- There is no published image for this chip with the selected firmware and channel.
- The Install ESPectre page lists the chips that have firmware.
- ESP32-S2 is available in the browser for ESPHome and Native, but not Matter. Micro-ESPectre is installed from the CLI only.
The device does not join Wi-Fi
- Check the network name and password; both are case-sensitive. Native and ESPHome accept them over USB; Matter gets them from your controller during pairing.
- If a preferred access point is unavailable and you can still reach the device, select automatic access-point selection in Device settings. Otherwise, follow the recovery steps for your firmware.
- Move the board closer to the access point for the first connection.
You need to recover or roll back
- Native: hold BOOT for 3 seconds to clear the Wi-Fi settings, then set up Wi-Fi again over USB.
- ESPHome: configure Wi-Fi over USB or through the
ESPectre Fallbackhotspot. - Matter: remove the reachable device from all paired controllers to reopen commissioning. If you cannot reach it, a full erase and reinstall clears pairing data and creates new setup codes; pair it again with your controller.
- If an over-the-air update cannot finish, reflash the full image over USB. Matter always uses USB for updates.
- To move from official firmware to your own build or an ESPHome Device Builder image, flash it once over USB: official Native and ESPHome firmware only accepts signed updates over the air.
- Install an older version only if its release notes allow the downgrade, and erase the board if its saved settings are not compatible.
Matter pairing times out
- Keep the phone within a meter of the board while pairing.
- Check that the phone's Bluetooth is on and the board has power.
- Unplug and replug the board to reopen pairing, then retry.